Faith, Family, Friends, Fellowship, Food, and Fun


Showing posts with label summer bucket list. Show all posts

Saturday, July 27, 2013

Arnold Art Camp Session 4

The Dixons were doing the melted crayon art. It wasn't as easy as it looked. Next time we'll definitely use a taper candle or flame lighting stick.

Tissue Paper Stained Glass Windows-now these turned out great!

Who knew Perler Beads were such hard work?

Sweet Violet made a huge star and then had the patience to complete a smaller heart.

See, I told you they were cute!

Joelie and Benjamin show their precious projects.

Abby and The Dixons

Arnold Art Camp Session 3

This session I set out a variety of beads, sequins, wiggly eyes, glitter, rice, etc..... and the kids used them in unique ways to decorate their names. None of them turned out like the example, but they were all beautiful nonetheless.
Sharpie-Solo Cup Suncatchers


We also did mosaics out of rice, popcorn seeds, split peas, and beans.

The artists

Wednesday, July 10, 2013

Arnold Art Camp Session 2

Today was session 2 of our Arnold Art Camp. We are having so much fun and of course, I am already planning next year's. Here's what we did today:
Bead Suncatchers

Birdseed Biscuits -going in the oven

Completed Suncatchers- aren't they beautiful?

Completed Birdseed Biscuits

My kids using the leftover seed mixture.

Arnold Art Camp session 1

I finally did it! I finally made my dreams of an art camp a reality. I have been compiling a list of artsy ideas since I became a teacher in 1996. About 5 years ago I started a blog post, Summer Bucket List,  so I could keep all those ideas together-I kept losing my lists and starting them all over. Then 3 years ago I started thinking about how I really needed to make an effort to DO these activities with my kids, especially since my oldest is passionate about art. I came up with a plan to invite friends over for art camp, but with Spencer being a nursing newborn, and the other kids being 2, 4, and 5, I knew it was not going to happen that year. The next year my dad lived with us so there was no way I could manage. Last year I rewrote the plan (must have lost the original). I was still too nervous to make it happen. This year I told a friend she should make her fun summer activities available to friends as a "camp" and then I realized if she could do it, I can do it. I sat down with my LONG list of ideas and my calendar and went to work planning.

Jane and George at the Pre-school center
Starting the canvas art-one of my favorite projects


Painting


Rosary hangers- I am going to make one myself.


Don't they look great? They aren't even finished. We left the tape on til the paint was completely dry.


Lots and lots of sand art.

Wednesday, April 10, 2013

Summer Bucket List Part 2

If you haven't seen part 1, click here.

#209 Modern Art found on this site. Supplies needed: black tempera paint, Elmer's glue, watercolor paper, watercolor paints.

#210Watercolor ATC found at Art Projects for Kids. Supplies needed: watercolor paper, watercolors, brush or eyedropper, lemon juice, tissue, ballpoint pen.

#211 Fluffy Stuff found at Play Create Explore. Supplies needed: bowl, 2 boxes of cornstarch and 1 can shaving cream, powdered tempera paint optional.

#212 MYO Rainbow crayons. Supplies needed: broken crayons, empty cans, empty pill bottles, pan, water.
#213 Gigantic Bubbles. Supplies needed:   6 cups water, 1 cup corn syrup, 2 cups regular strength Joy dish soap

#214 Backyard Alphabet Hunt by Play Dr. Mom- Supplies needed: letters, objects that start with each letter of the alphabet.

#215 Lego Maze found at this French blog. Supplies needed: legos, lego mat, marble.
 
#216 Sharpie and Solo cup stained glass found here. Supplies needed: Sharpies, clear plastic cups, hole punch, string/ribbon.
1) Color the cups with the Sharpies.
2) Place the cups on foil sprayed with Pam.
3) Melt the solo cup in a 350 degree oven for 3-4 minutes
4) Immediately after taking them out of the oven, pat them down to completely flatten them and make hole if desired.
 
#217 Smash Balls found on Time For Play blog. Supplies needed: some flour, water, food coloring and cotton balls! Place them on a greased cookie sheet or aluminum foil, bake for about 45 minutes at 300 degree's. Yep, that's it. Maybe a hammer too.
 
 
#218 DIY Outdoor Scrabble found at Constantly Lovestruck. Supplies needed: 12x12 paper, giant letters, fun friends
 
#219 Tissue Paper Stained Glass Windows found here at Kinder-Craze.  Supplies needed: tissue paper squares, 2 borders, clear contact paper

 
#220 Glowing Rainbow Rice found here at Growing a Jeweled Rose. Supplies needed: rice, ziplock bags, flourescent or glow-in-the-dark paint, rubbing alcohol.
 
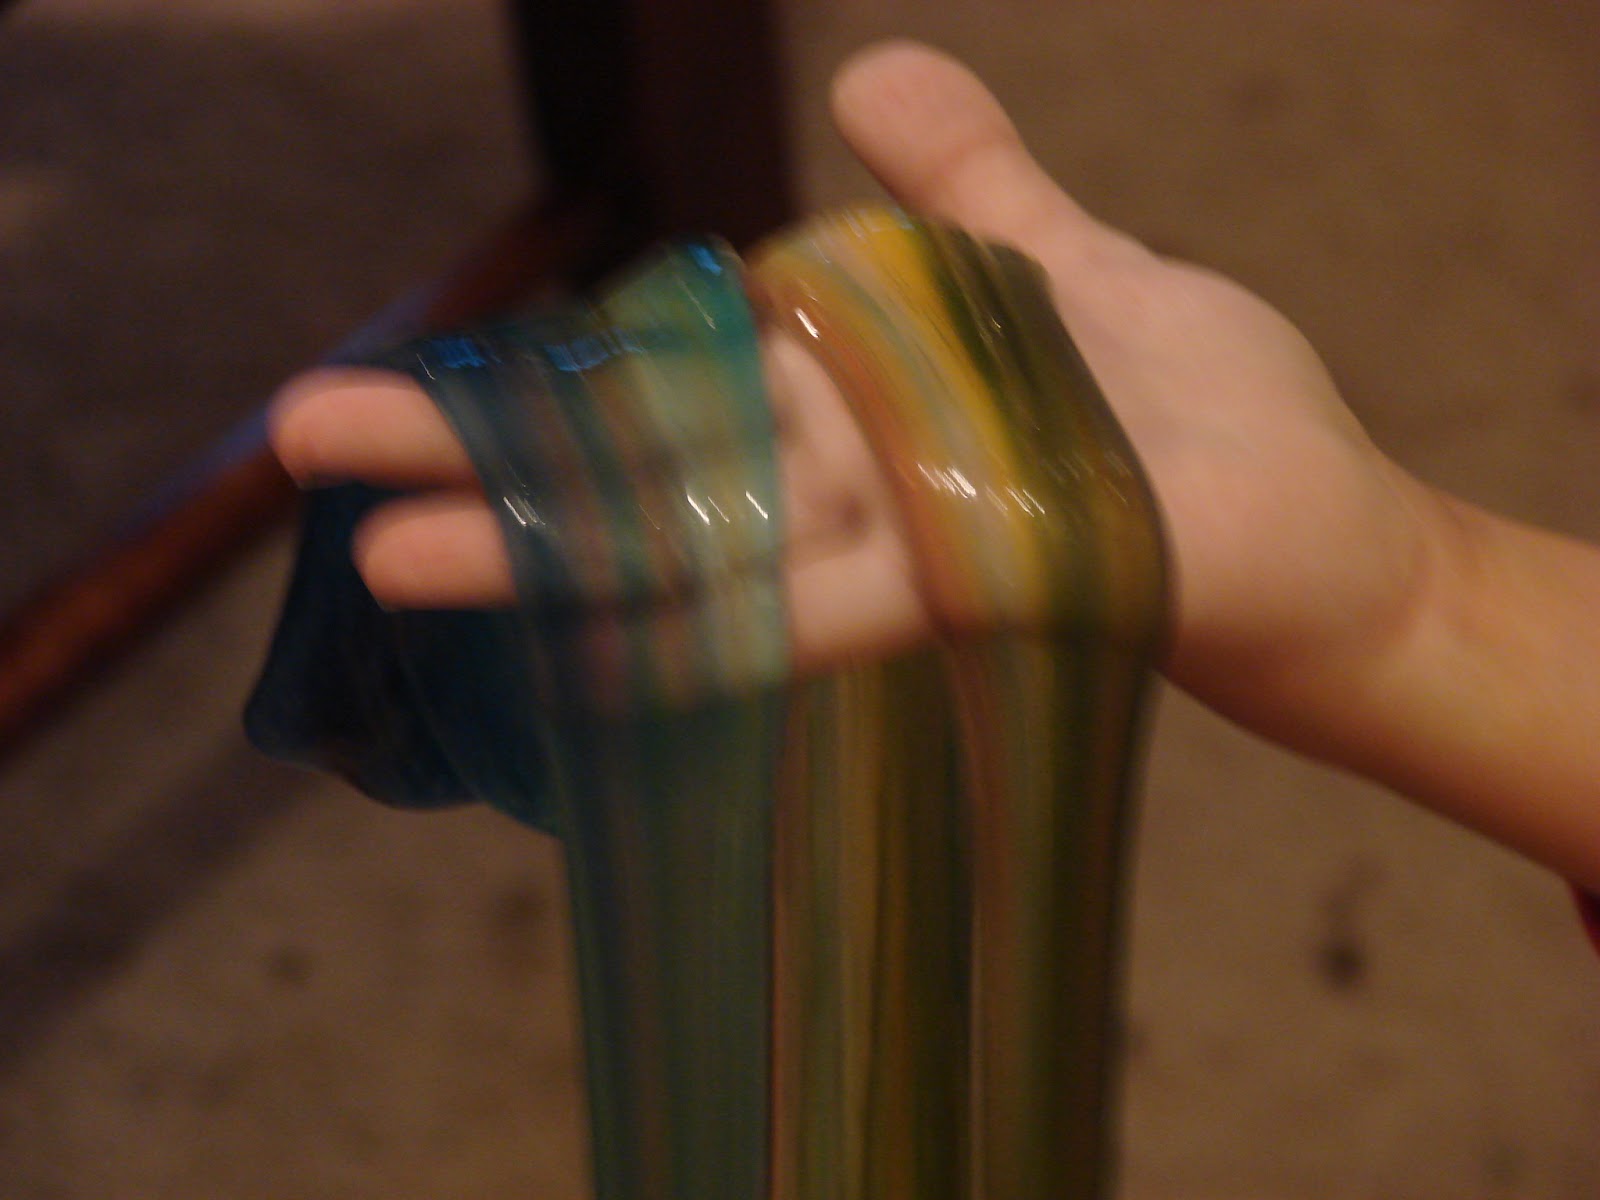
#221 Glow in the Dark Slime found at Domestic Charm. Supplies needed: clear or blue Elmer's glue, water, glow-in-the-dark paint, neon green food coloring, Borax


#222 Target practice from Family Fun.

 
#223 Apple Pie Play-Doh found on Little Wonders. Supplies needed: I just used our regular recipe, a lot of red food coloring and apple pie spice (cinnamon, nutmeg, and allspice).
 
 
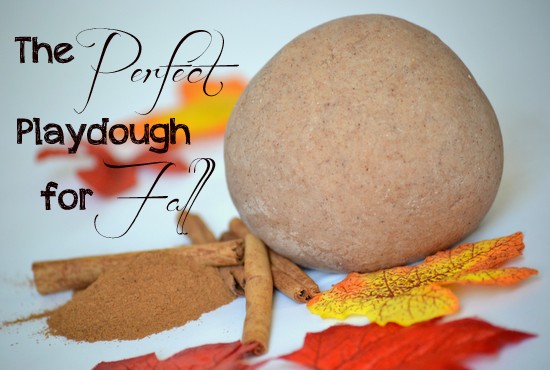
#224 Cinnamon Spice Play-Doh found on Be Organized. Supplies needed: 2 c flour, 1 c salt,  4 t cream of tartar, 5 t cinnamon, 1/2 t nutmeg,  1/2 t cloves, 2 c water,  2 T oil, food coloring
 
 
#225 Beautiful Dough Ornaments found on Pinterest. Supplies needed: 1/2 cup cornstarch, 1 cup baking soda, 3/4 cup water. Bake at 175 for about an hour.
 
 
#226 Yarn embossing found at We Heart Art. Supplies needed: foil, yarn, Sharpies, and spray adhesive.
 
 
#227 Sharpie stained glass found at 2me4art. Supplies needed: Sharpies, inexpensive craft paper.
 
 
#228 Paper Plate Weaving
 
#229 Watercolor mosaic found on this blog.
 
 
Work in progress, come back tomorrow for more.

Tuesday, August 21, 2012

Cloud Dough #179

 Okay, this container was clearly not big enough.

Cloud dough is so soft and it smells good, too. All you need is:

8 c flour
1 c baby oil

It looks really disgusting until you get it all mixed in.
I let the kids use cups, cookie cutters, and sand toys. They had a good time with this texture.

#204 Make Your Own Slime

 This slime was so easy to make!

All you need is 1 1/2 c liquid starch (not found at H-E-B) but I have plenty to share with my local friends.
1 1/2 c clear glue
food coloring
glass bowls
paper towels


I made the mistake of not measuring the clear glue. I assumed 2 bottles equaled 1 1/2 c based on the blog where I found this. I added the liquid starch and it was not all absorbed by the glue. It didn't matter too much, I just mixed and mixed and then poured the excess starch out.

 Just mix the glue and starch and stir.

 Separate the gooey blob into several bowls and add a few drops of food coloring.

 No, my toddler does not always run around the house in a diaper. I didn't want him to spill on his jammies.


 Next, let the kids mash and mush away.

 It was pretty cool how the slime took the shape of the bowls.

 I let the kids mix the colors.


This really was a fun experiment that kept the kids engaged for quite awhile. My oldest put hers in a baggie. We will see how it is in the morning.

Don't foget to check out the rest of my summer bucket list for over 200 fun things to do with kids.